Build your solar plan — no payment until you approve
Configure solarYour Solar Installation Journey
From initial consultation to grid connection, understand exactly what happens at each stage of your solar installation. Transparent process, professional execution. See also: Trexon home, government solar incentives, solar panel prices in Malaysia, install solar panels.
Complete Installation Timeline
Our 6-step process ensures smooth installation from start to finish
Initial Consultation & Design Review
Our solar engineers review your bill and roof photos to assess roof condition, shading, orientation, and electrical infrastructure. We use advanced tools to design the optimal system for your energy needs. No site visit is needed to quote.
What We Do:
- Comprehensive roof structural assessment
- Shading analysis
- Electrical system inspection and load calculation
- Customized system design and layout
- Detailed quotation with ROI projections
- Discussion of payment options (0% card instalments, bank loans, OKAPI rent-to-own)
Deliverables:
Documentation & Approvals
Once you accept our proposal, we handle all paperwork including SEDA Solar ATAP application and TNB technical approval. Our team manages the entire bureaucratic process so you don't have to.
What We Do:
- SEDA Solar ATAP online application submission
- TNB application for solar PV connection
- Property ownership verification
- Grant of authority (GAT) from property owner
- Local authority building plan approval (if required)
- Technical review by our engineering team
Deliverables:
Solar Panel Installation
Our installers mount the solar panels on your roof using corrosion-resistant aluminum rails. We ensure waterproof installation and optimal panel orientation for maximum energy generation.
What We Do:
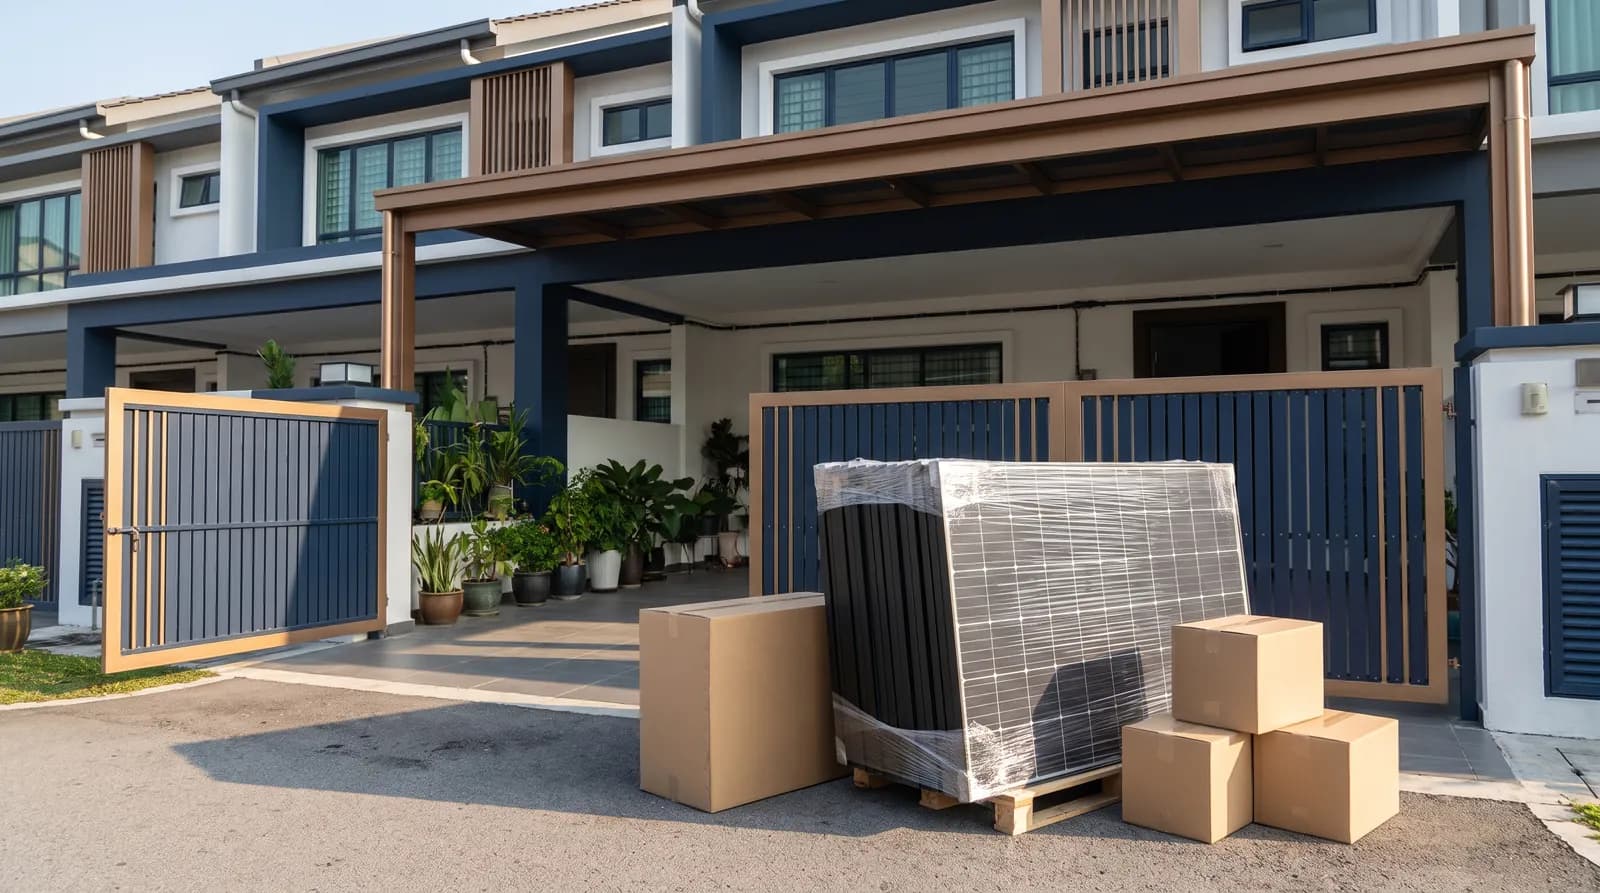
- Delivery of Tier-1 solar panels and equipment
- Precision mounting rail installation with waterproofing
- Solar panel mounting and wiring
- Quality checks for alignment and orientation
- Cable management and conduit installation
- Safety equipment setup and site protection
Deliverables:
Electrical Installation
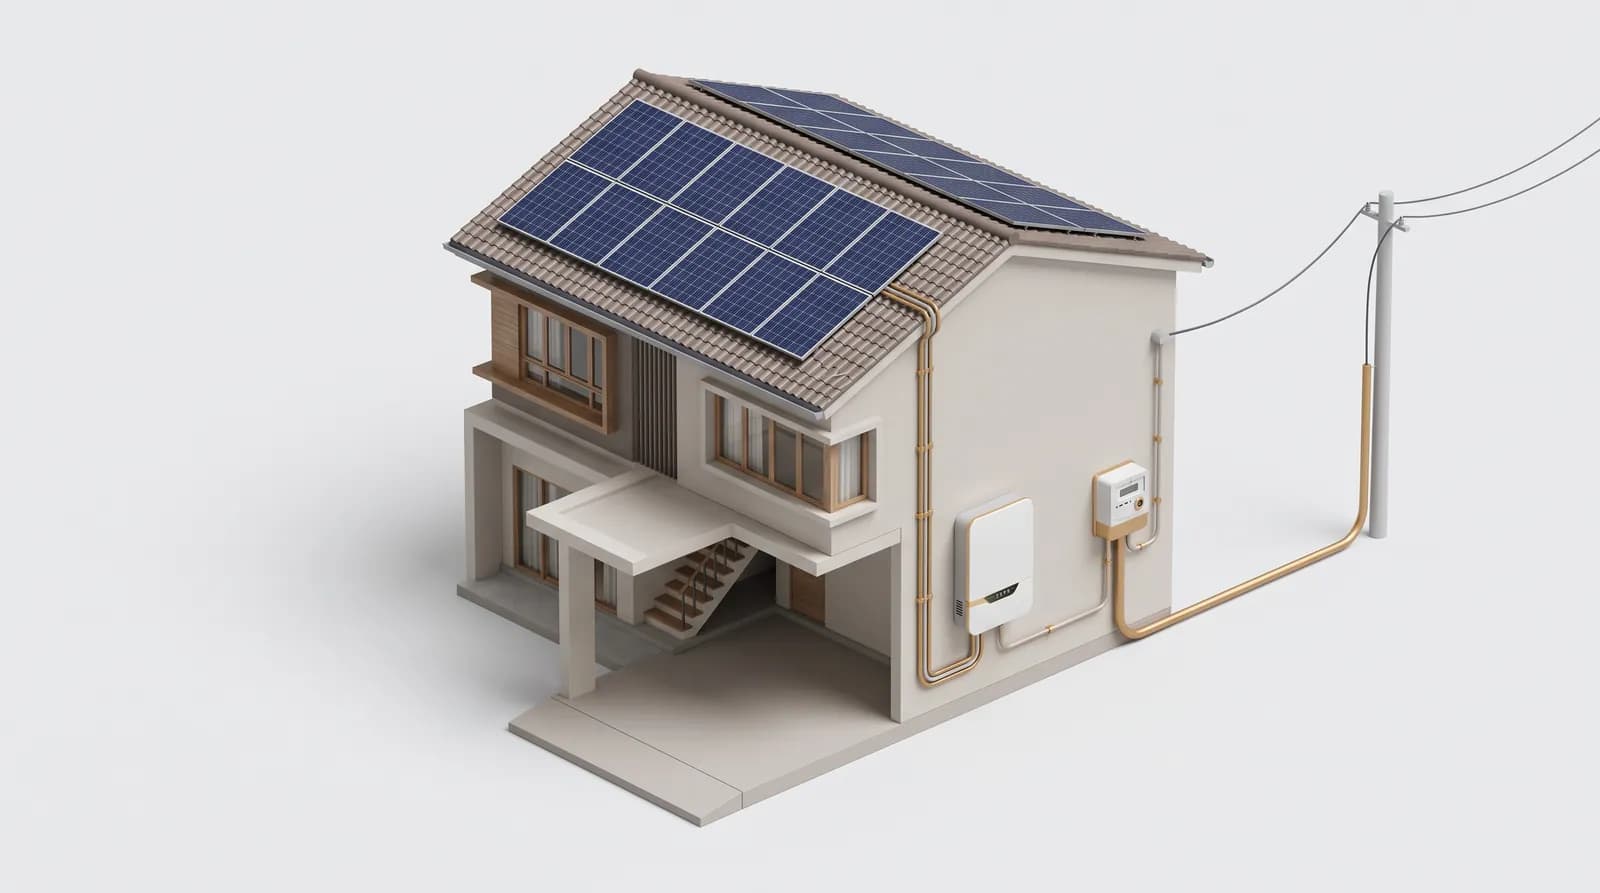
Our electricians install the inverter, AC/DC cabling, isolators, and protection systems. All electrical work complies with Malaysian electrical standards and TNB requirements.
What We Do:
- Inverter installation and configuration
- DC and AC cable routing
- Surge protection device (SPD) installation
- AC/DC isolator switches installation
- Earthing and lightning protection
- Integration with existing electrical panel
Deliverables:
System Testing & Commissioning
We thoroughly test the entire system to ensure optimal performance and safety. This includes electrical testing, inverter configuration, and monitoring system setup.
What We Do:
- Electrical insulation and continuity testing
- Inverter functionality and parameter verification
- Wi-Fi monitoring system setup and app installation
- System performance validation
- Safety equipment testing
- Customer training on monitoring and maintenance
Deliverables:
TNB Inspection & Grid Connection
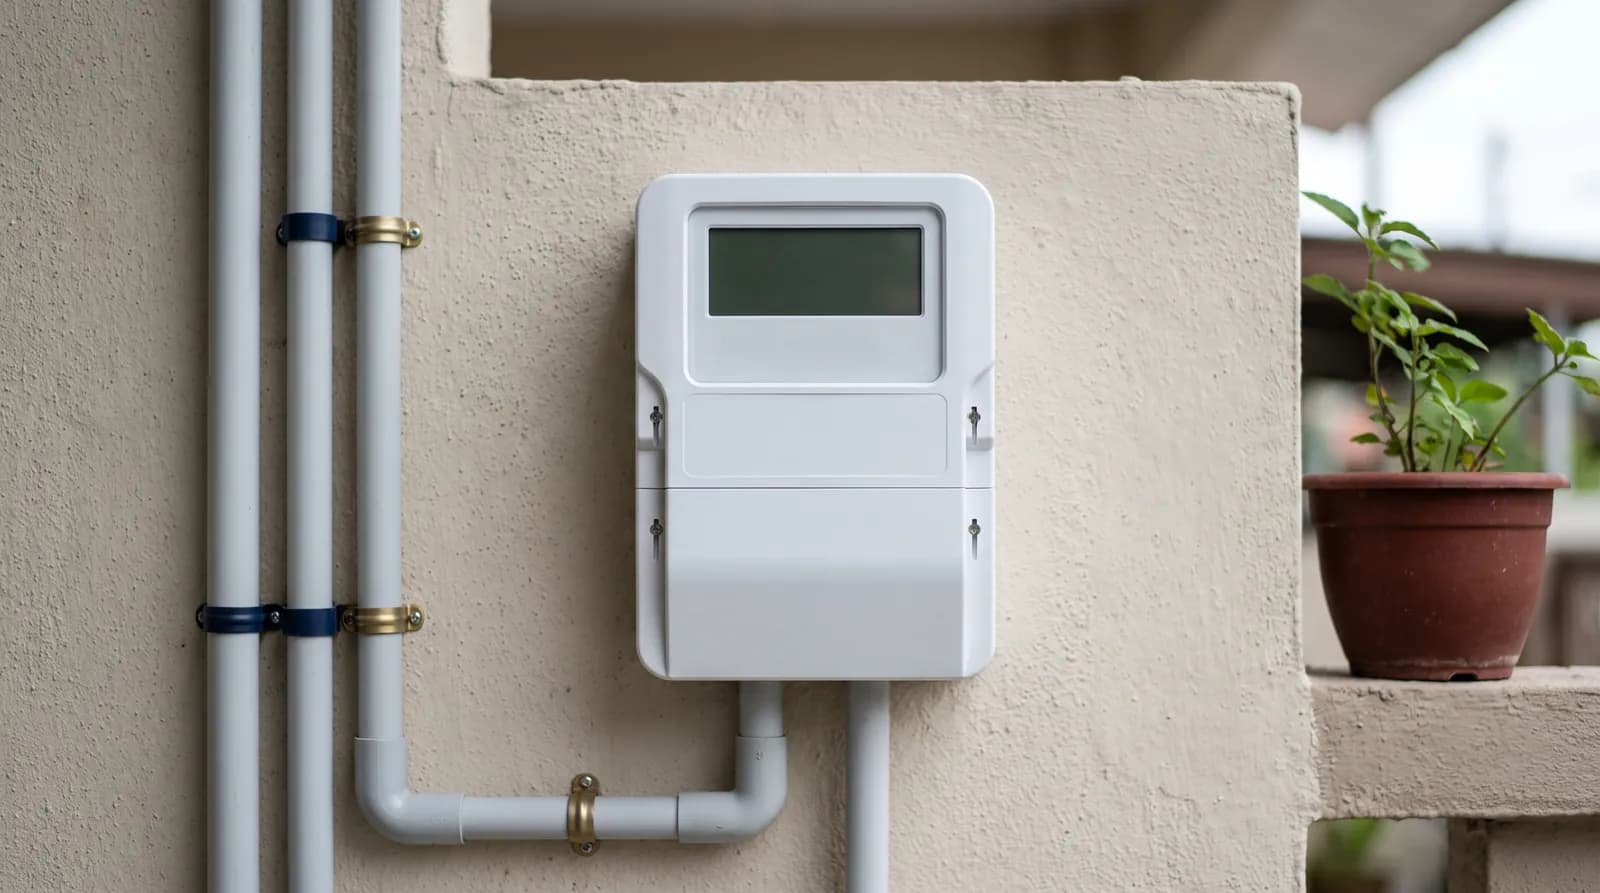
TNB inspects the installation to ensure compliance with grid connection standards. Upon approval, they install a bidirectional meter and activate your Solar ATAP account.
What We Do:
- Schedule TNB inspection appointment
- TNB safety and compliance inspection
- Bidirectional meter installation by TNB
- Solar ATAP account activation
- Final system handover and documentation
- Warranty registration and after-sales support setup
Deliverables:
What to Expect
We make solar installation smooth, safe, and stress-free
Minimal Disruption
On-site installation typically takes 1-2 days with minimal impact on your daily routine. We clean up thoroughly after each day.
Professional Team
Our installation teams follow strict safety protocols and quality standards throughout the process.
Workmanship Warranty
Installation workmanship is covered by our 5-year workmanship warranty.
Transparent Communication
You receive regular updates via WhatsApp with photos and progress reports at each milestone.
Installation Process FAQs
Common questions about solar installation
How long does the entire solar installation process take?
From booking to TNB commissioning typically takes 6-10 weeks. Most of that is waiting for the Solar ATAP application result and for TNB to inspect and install the meter; on-site installation itself takes 1-2 days. Approval times are set by the authorities (the guideline allows up to 2 months to notify the application result, §15.5 of GP/ST/No. 60/2025), so a longer wait is possible.
Do I need to be home during installation?
Yes, we recommend someone be present during installation for site access and to approve the work. However, once installation begins, you can continue with your normal activities. We'll update you on progress and only need your input at key milestones.
Will installation damage my roof?
No. We use specialized mounting systems designed to preserve roof integrity. All roof penetrations are waterproofed with premium sealants and flashing. We provide a 5-year workmanship warranty covering waterproofing and structural integrity.
What happens if it rains during installation?
Light rain doesn't stop installation as we waterproof sections progressively. However, heavy rain may pause outdoor work for safety. We closely monitor weather forecasts and adjust schedules accordingly. Any delay is communicated immediately.
Can I use electricity during installation?
Yes. Your main power supply remains on throughout installation. There may be brief interruptions (15-30 minutes) when we connect the solar system to your electrical panel, which we schedule at your convenience.
What documentation do I receive after installation?
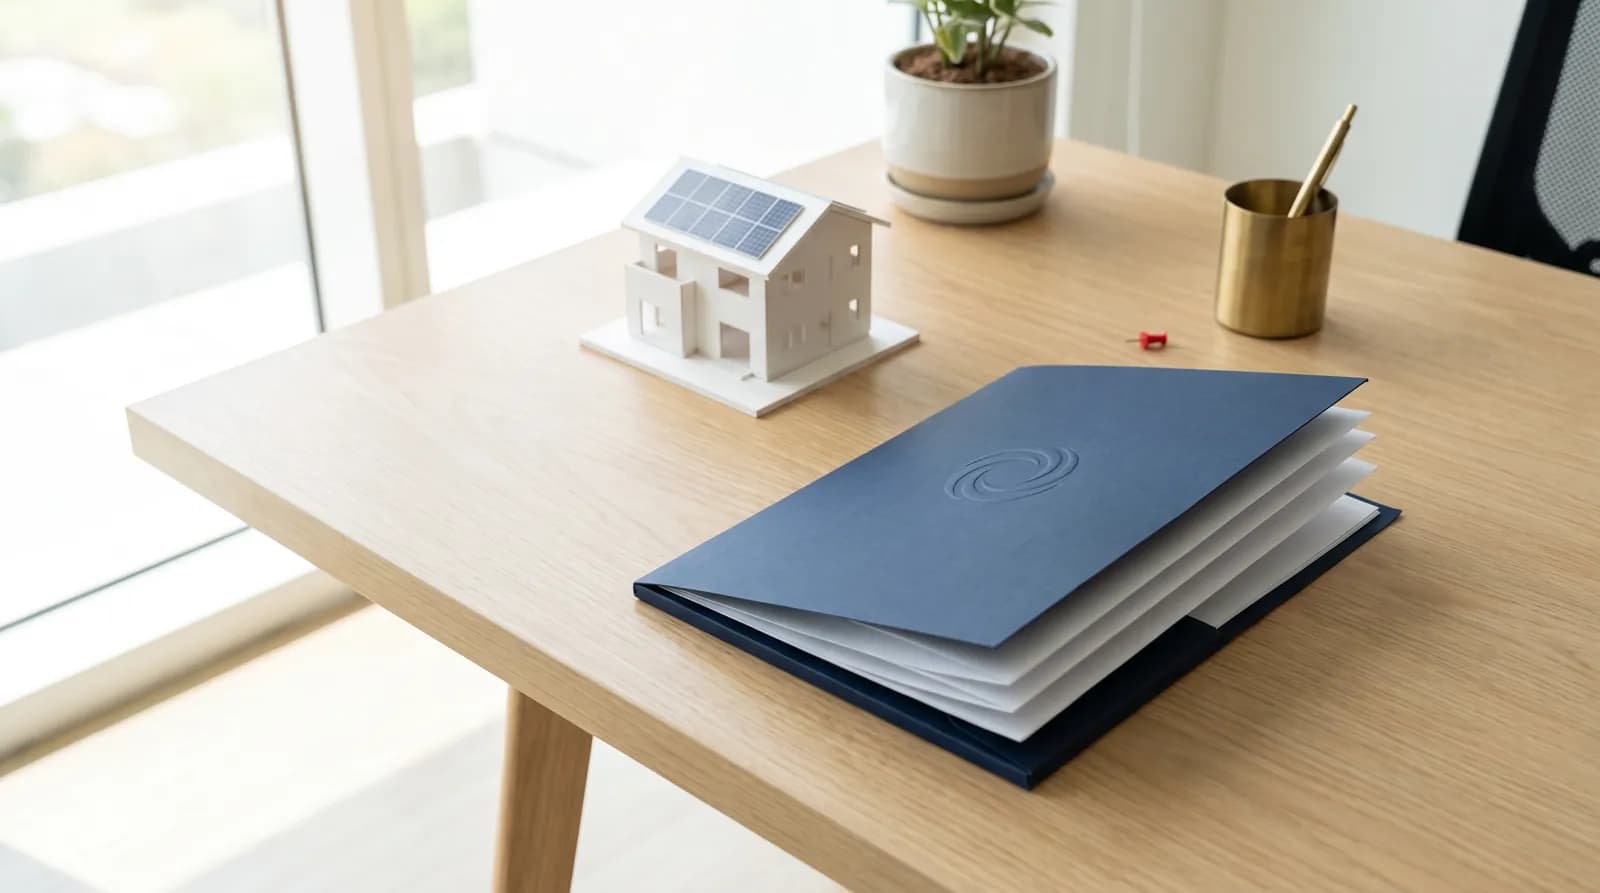
You receive a comprehensive handover pack including: installation certificate, electrical test report, SEDA approval letter, TNB grid connection approval, warranty certificates (panels, inverter, workmanship), system diagram, monitoring app login, and maintenance guide.
Ready to Start Your Solar Journey?
Get a free quote and receive a detailed installation timeline for your property.
Prefer to book a technical survey first, or read our step-by-step Bahasa Malaysia installation guide.